August 17, 2026
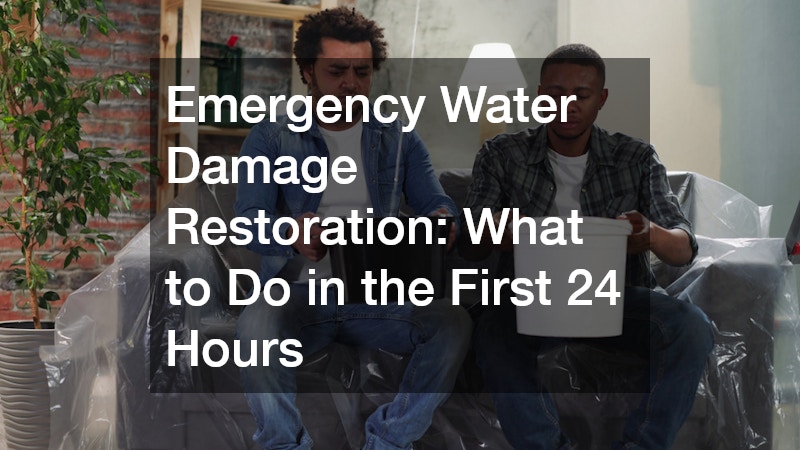
Emergency Water Damage Restoration What to Do in the First 24 Hours
When a pipe bursts, a water heater fails, or heavy rains flood your basement, the initial shock can freeze you in place. Yet, in property mitigation, time is the ultimate variable. The first 24 hours following a water intrusion represent a strict timeline that dictates whether your home suffers minor inconvenience or catastrophic financial loss. Most homeowners’ insurance policies explicitly contain a “duty to mitigate” clause, requiring policyholders to take reasonable steps immediately to prevent secondary damage. Within 24 to 48 hours, standing moisture turns into active mold growth, hardwood floors begin to warp permanently, and drywall loses its structural integrity.
Professional water damage restoration relies on rapid response because structural deterioration and microbial activity begin much faster than most property owners realize. Knowing precisely what steps to take during this critical window can save you thousands of dollars in repairs and prevent long-term health hazards.
Hours 0–2: Containment and Immediate Safety
Your immediate priority during the first two hours is securing the environment before attempting any deep clean-up.
- Cut off power and gas: Never step into standing water if electrical outlets, appliances, or extension cords are submerged. Locate your main circuit breaker and shut off power to the affected zones. If reaching the breaker box requires walking through flooded areas, contact your local electric utility or emergency service first.
- Stop the water source: If the issue stems from an internal plumbing failure, turn off the main water shut-off valve immediately. Every homeowner should know the location of this valve before an emergency strikes. If the water comes from external natural flooding, focus on personal safety and containment rather than attempting to block the flow.
- Identify the water category: Clean water from a broken supply line (Category 1) poses fewer immediate health hazards than greywater from an overflowing washing machine (Category 2) or blackwater from a sewer backup (Category 3). If dealing with Category 2 or 3 water, avoid direct physical contact entirely and wear protective equipment, including rubber boots, gloves, and an N95 respirator.
- Document everything for insurance: Before moving items or wiping down surfaces, use your smartphone to capture detailed high-resolution photos and wide-angle videos. Document standing water levels, structural saturation, and damaged personal property. Keep all compromised materials on-site until an adjuster inspects them, as premature disposal can complicate your reimbursement.
Hours 2–6: Mobilization and Claim Initiation
Once the property is safe and properly documented, shift your focus to professional assistance and financial coverage.
- File an emergency insurance claim: Call your insurance provider’s emergency claims line right away. Ask your agent specifically about your policy’s coverage limits, deductible, and whether you need specific endorsements for water backup or flood mitigation. Request explicit approval to begin immediate emergency drying efforts to prevent secondary damage.
- Hire certified specialists: Do not rely on DIY methods for deep structural drying. Contact a certified water damage restoration company immediately. Standard household vacuums and residential box fans lack the power to draw moisture out of subflooring, wall cavities, or load-bearing studs. Certified technicians bring industrial truck-mounted extractors, desiccant dehumidification units, and thermal imaging cameras to detect hidden moisture pockets.
- Elevate high-value assets: Transfer high-value items—such as electronics, critical documents, family heirlooms, and non-submerged furniture—to a dry, secure room. Place aluminum foil or plastic blocks under heavy furniture legs to prevent wood tannins from bleeding into damp carpets.
- Secure structural openings: If storm conditions or fallen trees compromised your roof, windows, or exterior walls, arrange for emergency tarping and board-up services to prevent additional outdoor moisture from entering the building envelope.
Hours 6–24: Stabilization and Moisture Removal
During this phase, professional mitigation teams arrive on-site to execute aggressive extraction and drying protocols.
- Extract standing water: Heavy-duty, truck-mounted extraction units clear hundreds of gallons of standing water per hour. Removing bulk water mechanically is significantly faster and more effective than relying solely on evaporation.
- Remove unsalvageable porous materials: Saturated drywall, wet insulation, soaked carpeting, and underlayment often need to be stripped away. Because these porous materials trap organic matter and moisture, leaving them in place creates an ideal environment for toxic mold (Stachybotrys chartarum) to thrive within a day or two.
- Apply EPA-registered antimicrobials: Before structural drying begins, technicians spray non-toxic antimicrobial agents across exposed framing, subfloors, and concrete surfaces. This crucial step neutralizes bacterial growth, stops fungal spores from germinating, and eliminates sour odors.
- Establish air movement and dehumidification: High-velocity air movers recirculate air at floor level to accelerate evaporation, while industrial LGR (Low Grain Refrigerant) dehumidifiers pull moisture from the air to lower relative humidity below 50%. Maintaining strict atmospheric control prevents secondary damage like sagging ceilings, warped cabinetry, and lingering odors.
Water damage is inherently overwhelming, but time remains your greatest asset. By taking decisive action within the initial critical window, you limit structural decay, streamline insurance claims, and set the stage for a seamless recovery that restores your property and peace of mind.